Home » Products » Material Preparation, Analysis, and Testing » Universal Testing Systems (UTS) » Instron Universal Testing Systems (6800 Series)
Technical Overview
High-Precision Universal Testing Platform
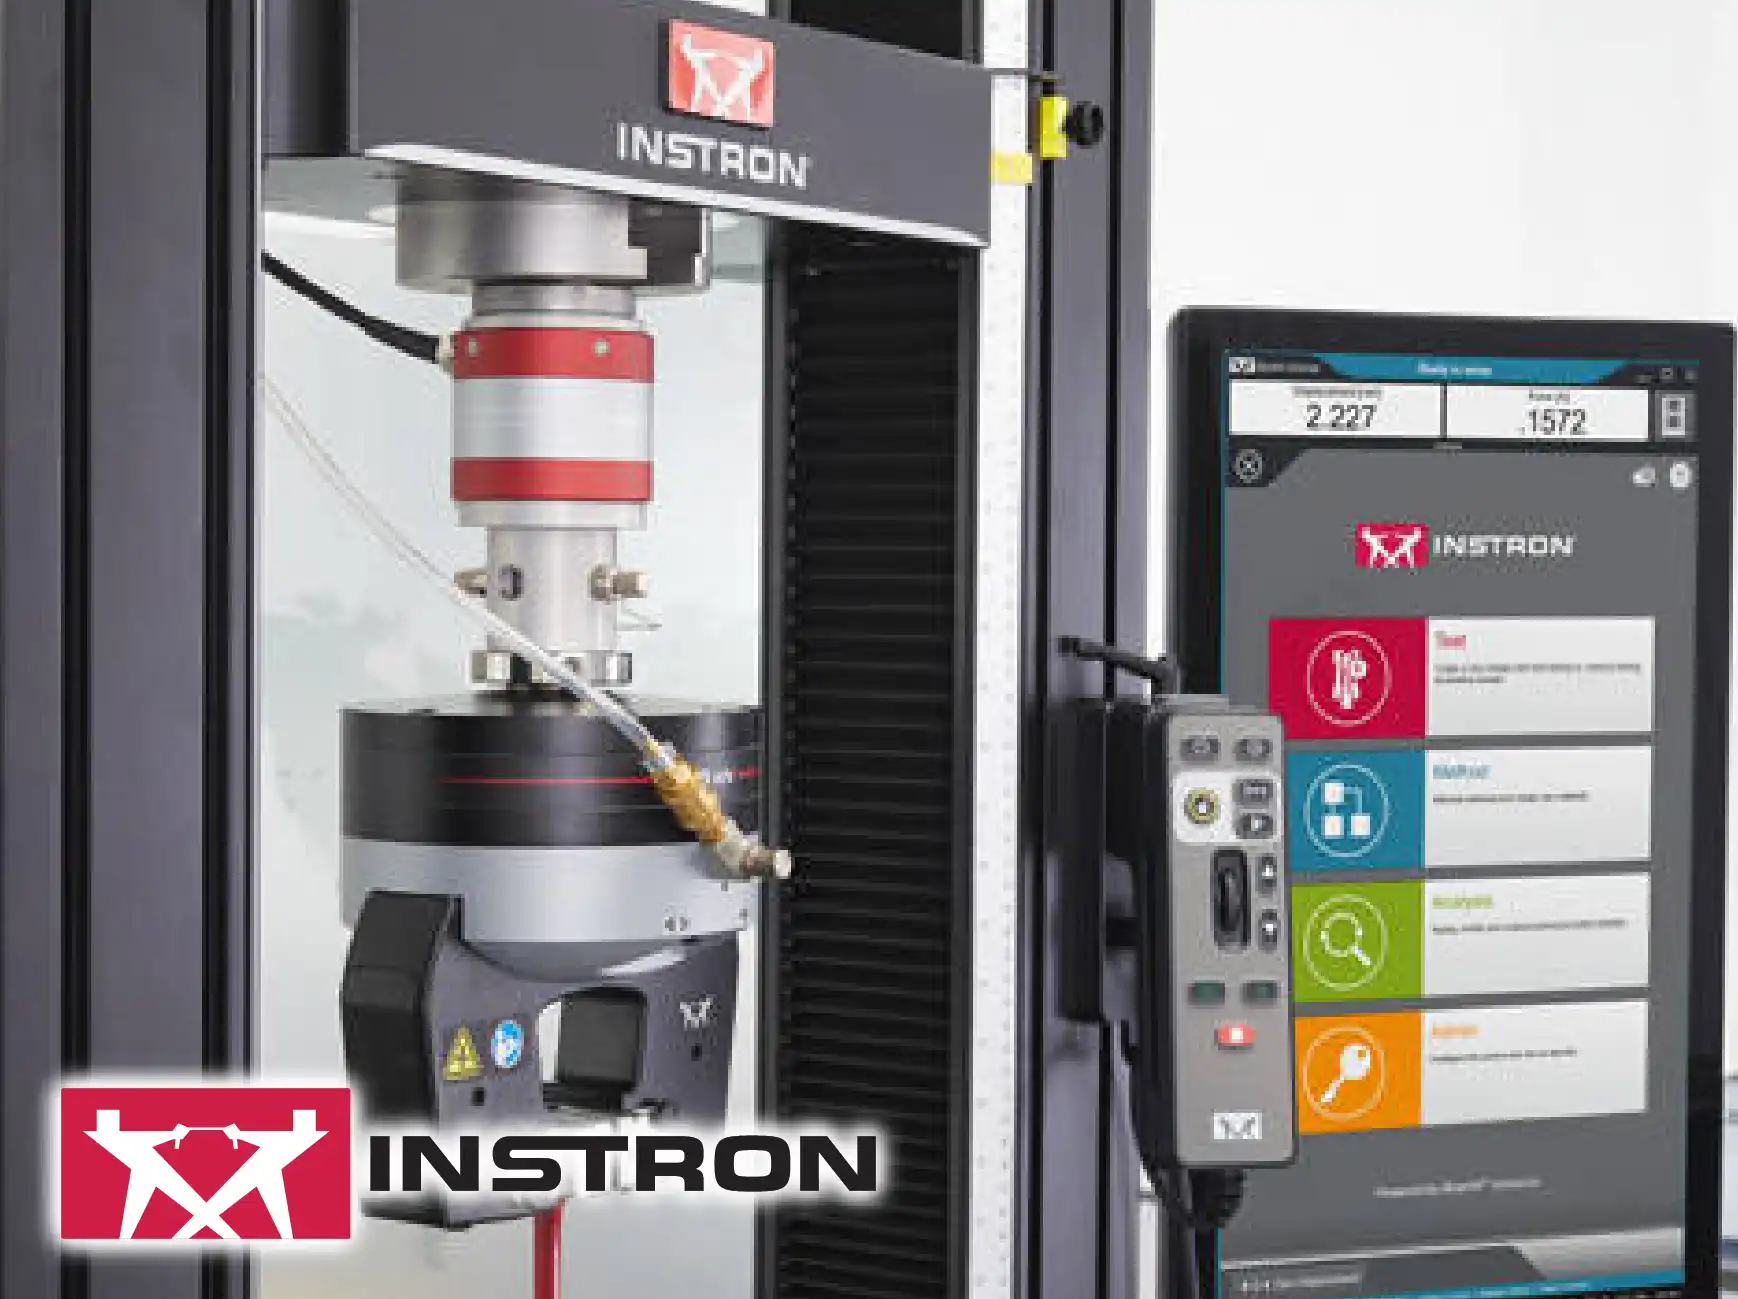
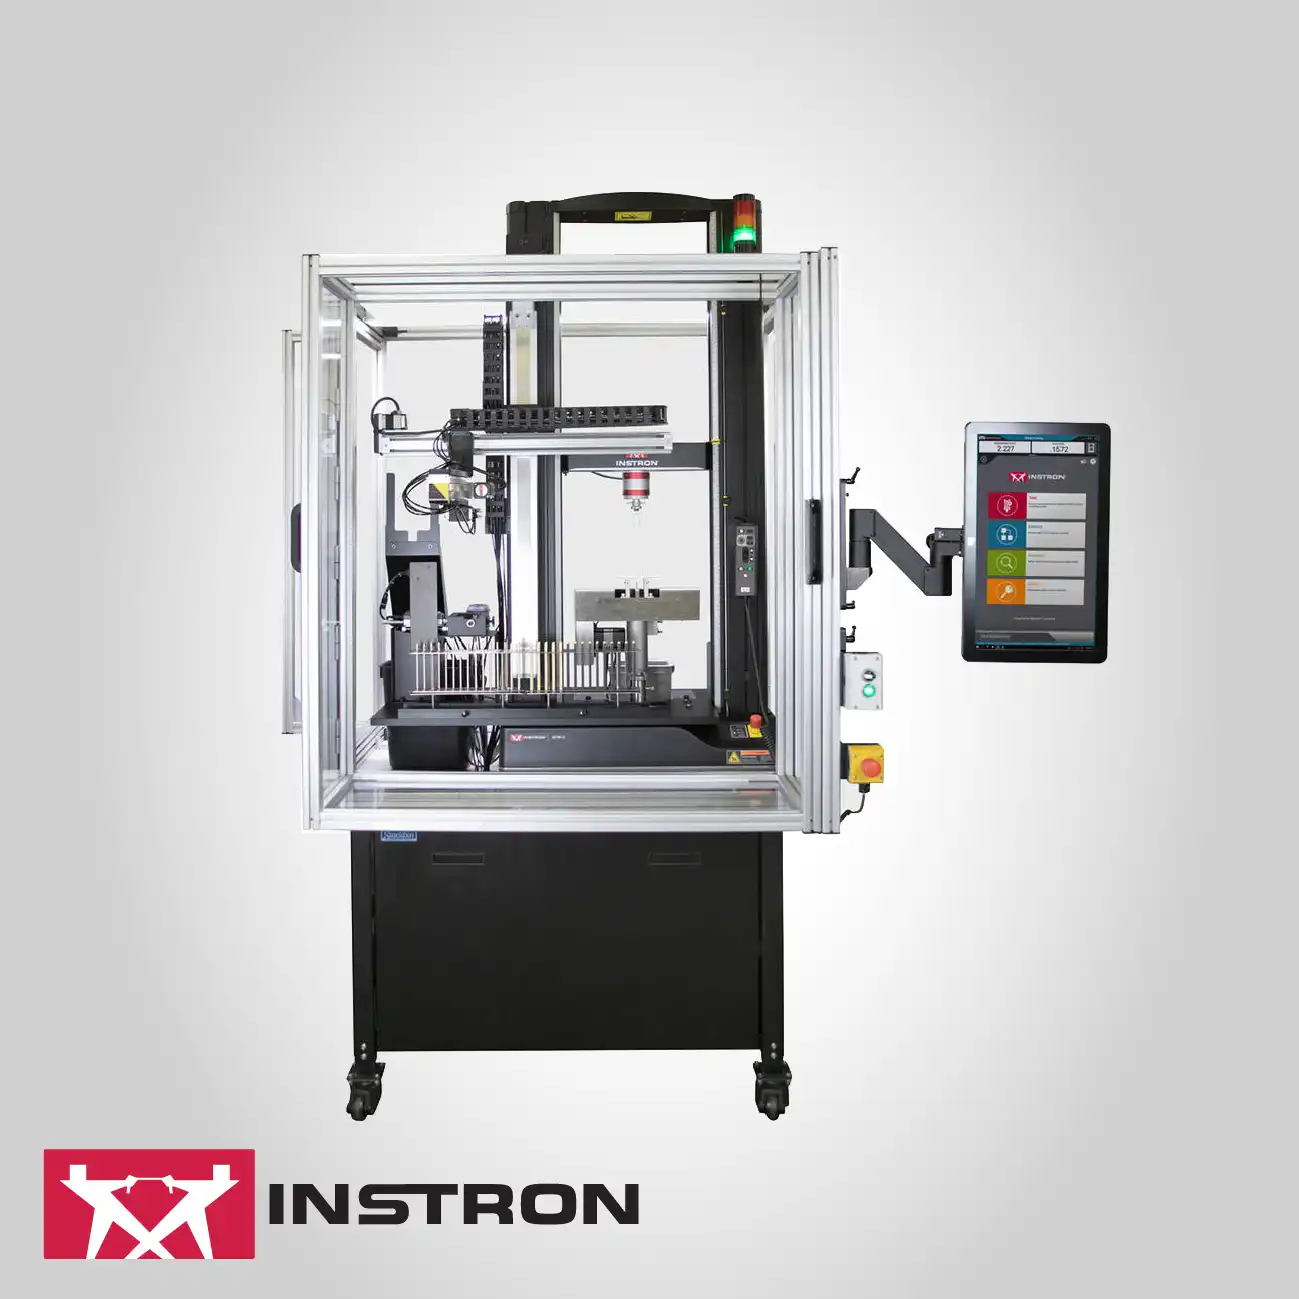
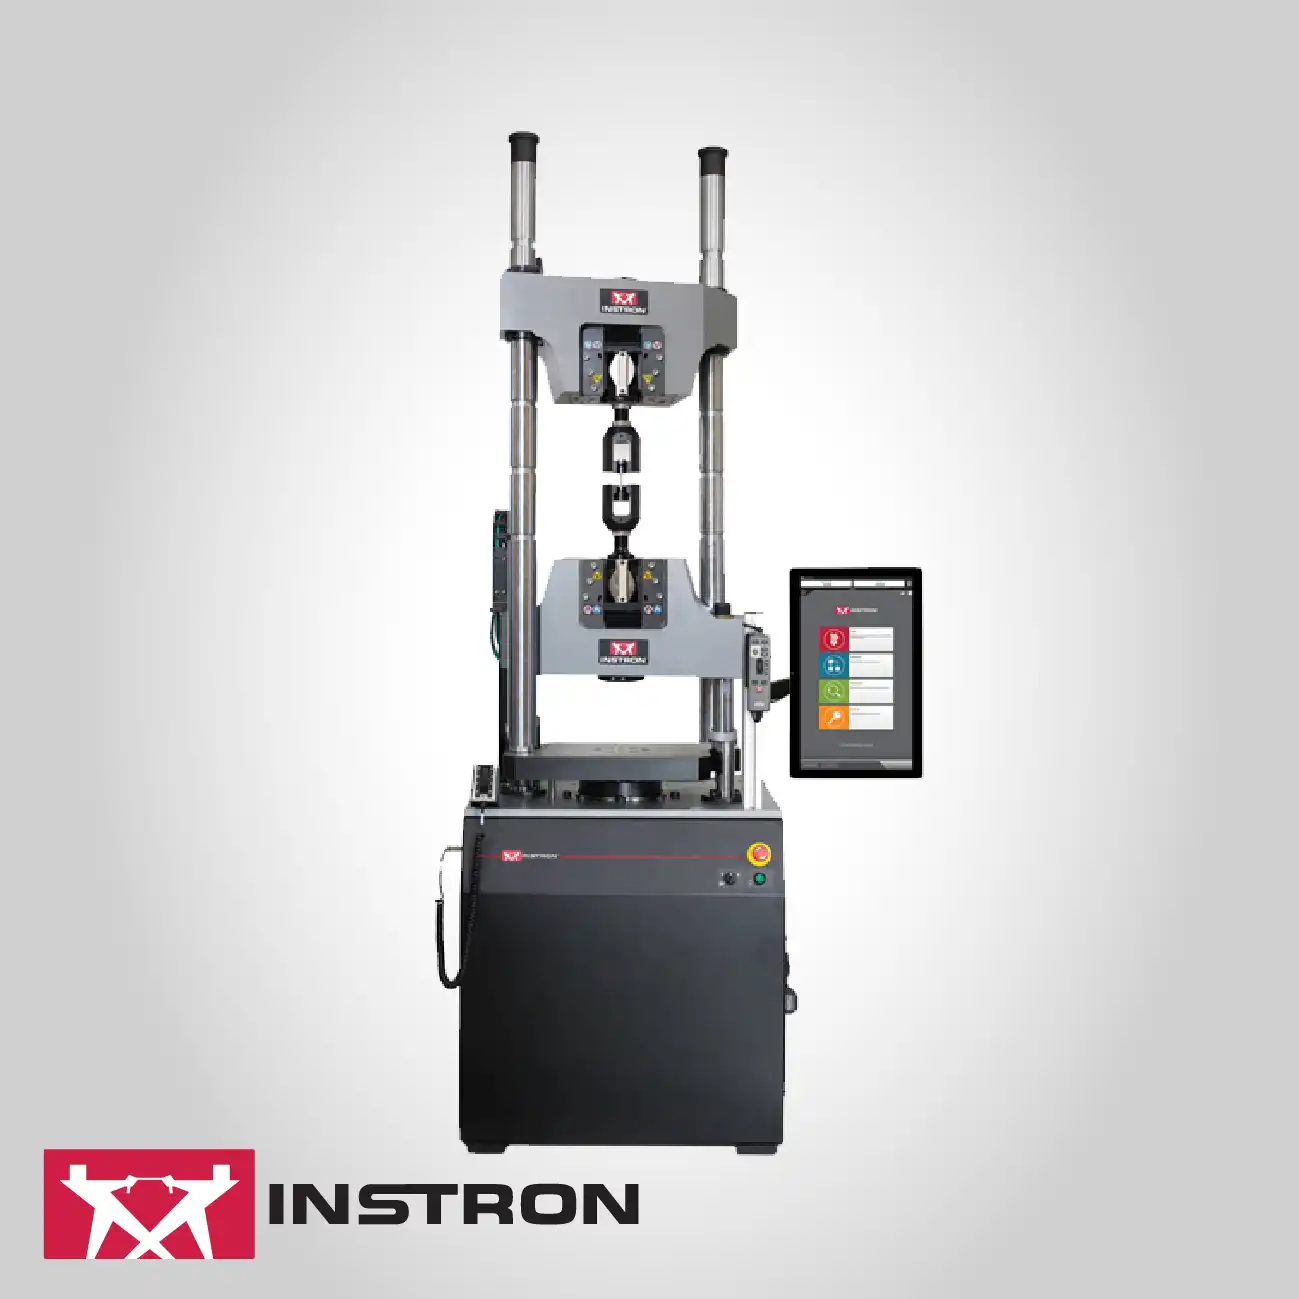
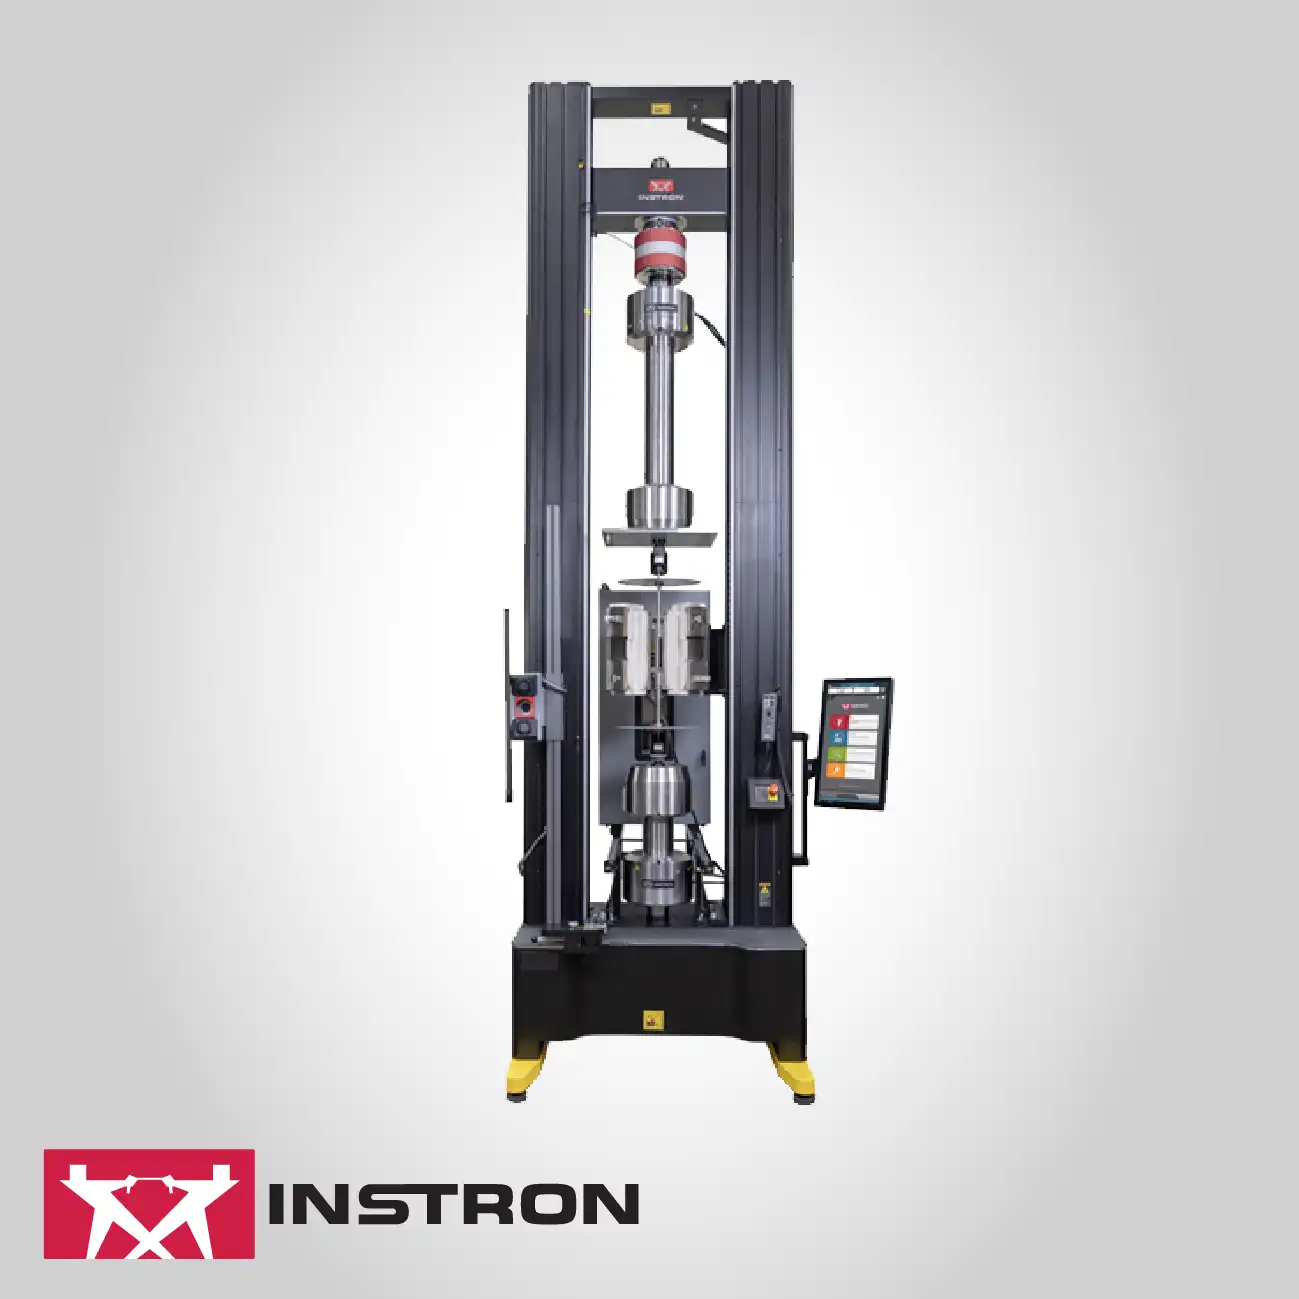
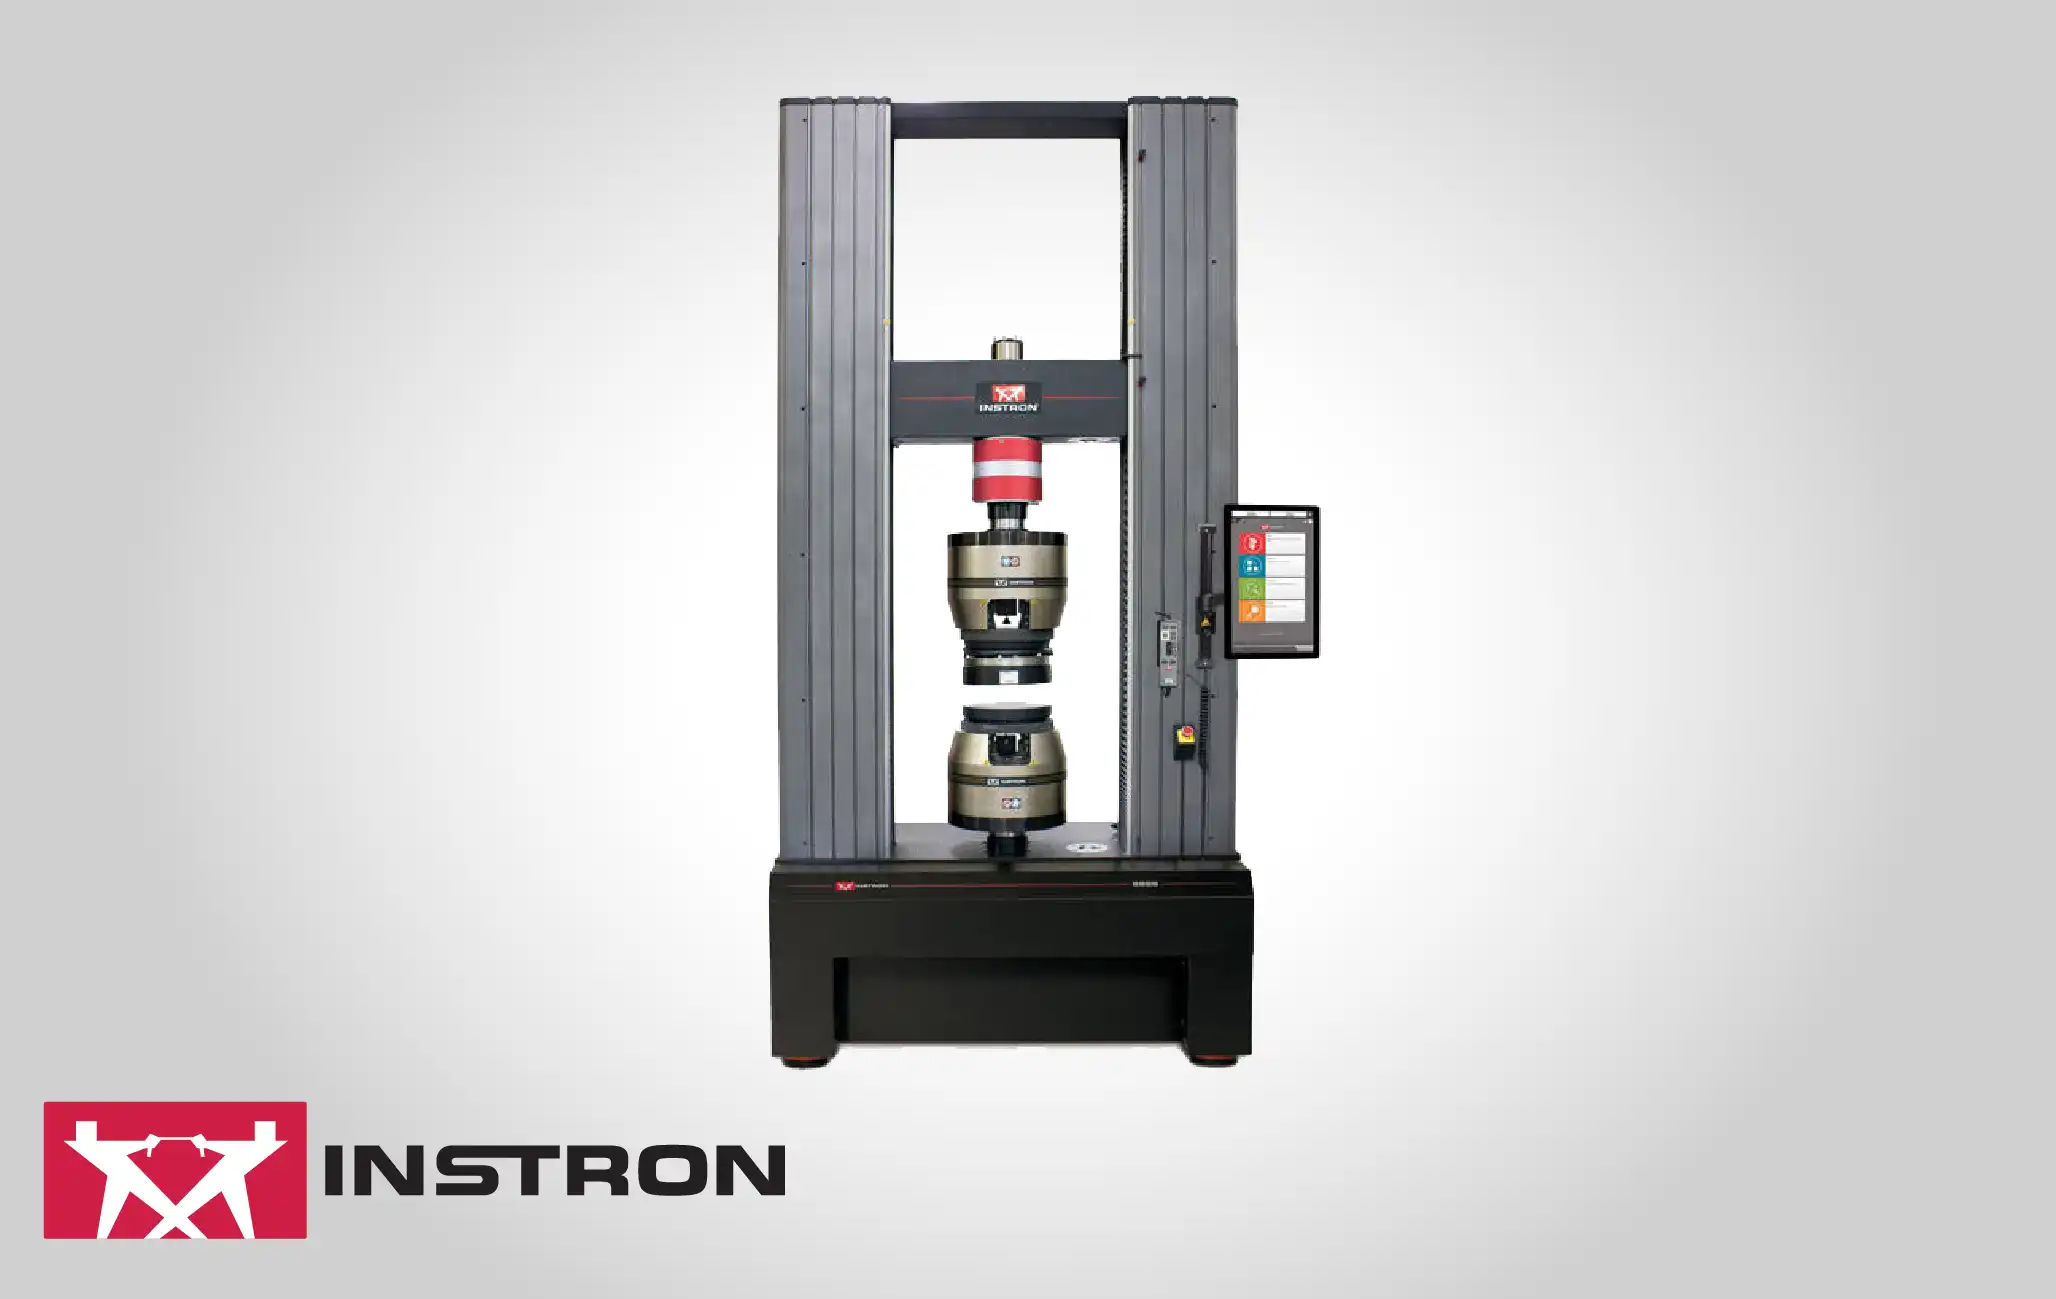
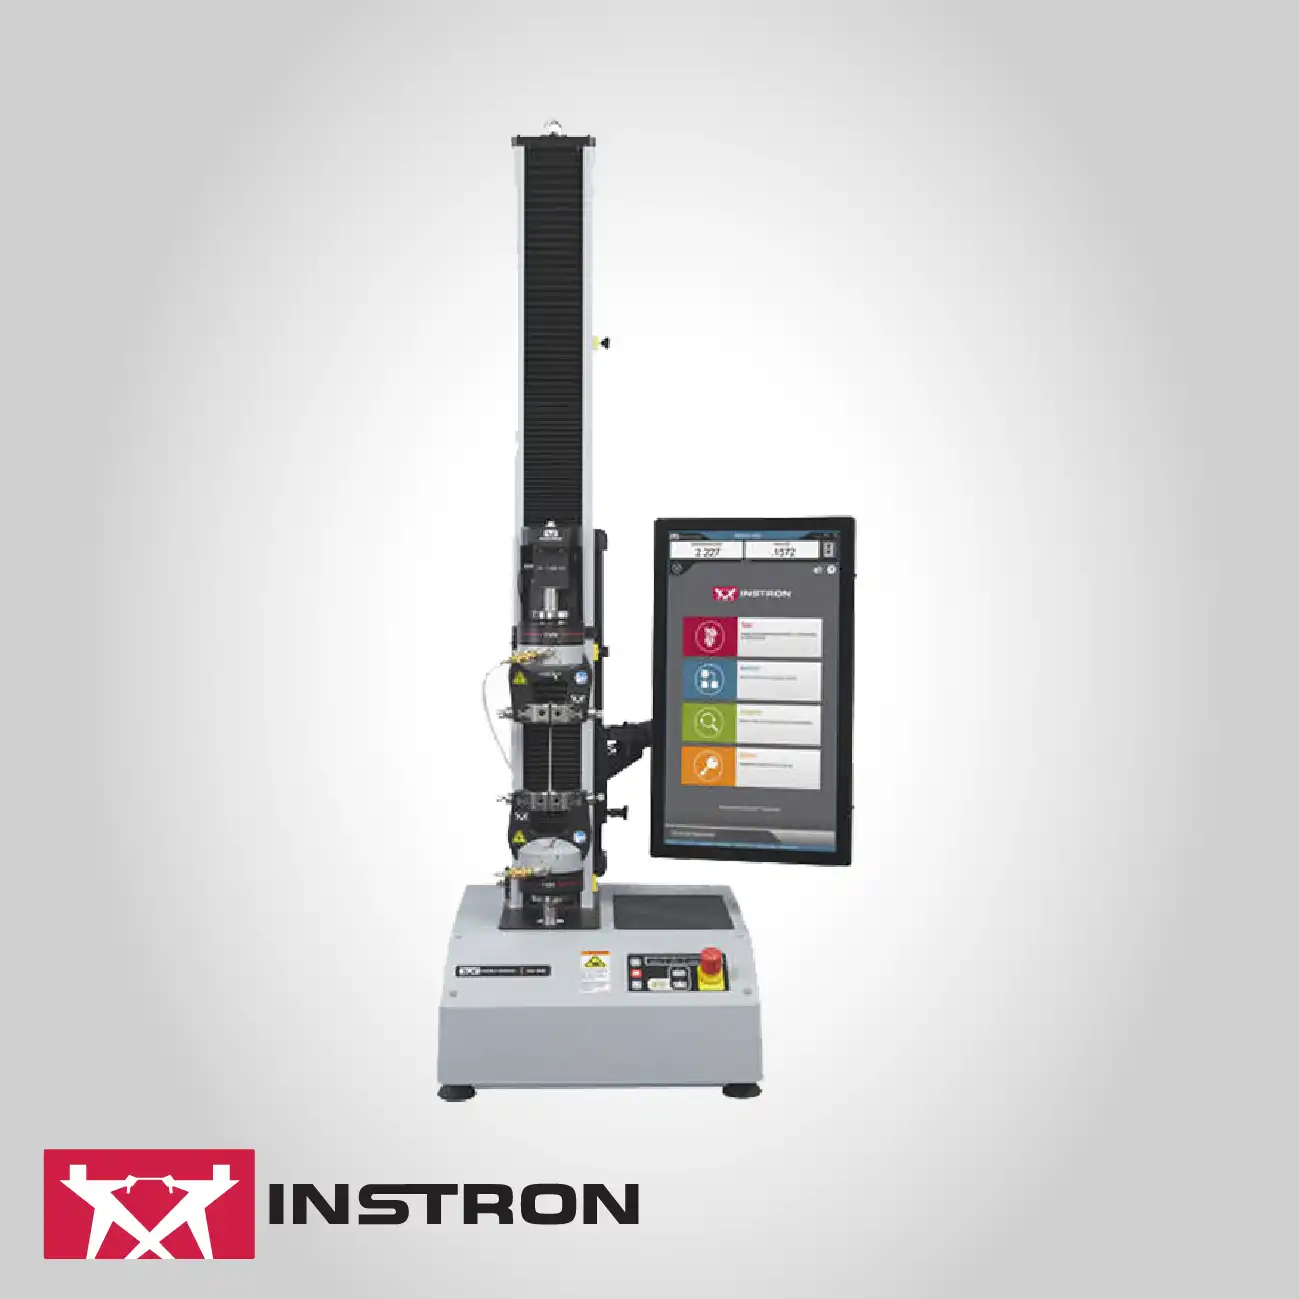
Instron Universal Testing Systems (6800 Series)
The system's advanced digital control loop and data acquisition architecture overcome the limitations of legacy test frames by providing capture rates up to 5 kHz, allowing for the faithful recording of transient events and subtle material behavior during fracture or yielding that often go undetected at lower sampling frequencies. This high-speed capability is coupled with a proprietary safety system, featuring virtual interlocks and smart-close pneumatic grip technology, designed to actively mitigate the operational risks associated with high-energy testing and the handling of expensive, fragile, or high-capacity fixtures, thereby protecting both laboratory personnel and valuable test accessories.
Through the implementation of maintenance-free brushless AC servomotors and highly precise pre-loaded ball screws, the system is engineered to maintain exceptional positional accuracy and axial alignment over its entire operational lifespan, directly addressing concerns regarding system uptime and calibration drift.
High-Fidelity Load Measurement Range and Resolution
The exceptional accuracy specification of ±0.5% across the usable range of the force transducer effectively eliminates the necessity for multiple specialized load cells for a wide range of test forces, simplifying hardware inventory and setup complexity. This expansive high-fidelity measurement range (down to 1/1000th resolution) ensures that data integrity is maintained even when transitioning from high-force fracture events to low-force seating or alignment checks, providing comprehensive assurance regarding the validity of the reported test results.
Integrated Mechanical and Electronic Safety Architecture
The advanced safety architecture integrates mechanical, pneumatic, and electronic safeguards, ensuring that high-energy stored within the system is managed and contained, fundamentally reducing the risk of personnel injury during specimen failure. Features such as the Virtual Interlock system use sensor data to verify that all safety requirements are met before testing can commence, thereby preventing unintentional operation under hazardous conditions and upholding stringent laboratory safety protocols.
Optimizing Laboratory Throughput and Operational Efficiency
Throughput demands in quality assurance laboratories are met by integrating features that streamline the testing workflow, including automatic transducer recognition and rapid crosshead positioning that can achieve speeds exceeding 1000 mm/min. This focus on operational efficiency minimizes the non-test time spent on machine setup and specimen alignment between runs, maximizing the volume of testing that can be completed within a given shift and improving overall laboratory productivity.
Frame Rigidity and Accurate Modulus Determination
The rigid mechanical design, characterized by thick steel crossheads and a stiff column structure, ensures extremely low compliance, which is a critical factor when measuring the Modulus of Elasticity for high-stiffness materials like advanced composites. By minimizing the machine's contribution to the measured deflection, the system guarantees that the calculated modulus values are accurate and reliable, overcoming the challenge of inflated strain measurements caused by frame deformation.
Precise Positional Control for Advanced Time-Based Tests
The proprietary digital control system provides superior positional control and response time, enabling precise execution of advanced testing methodologies such as stress relaxation, creep, and low-cycle fatigue. The capability for highly accurate position holding and controlled ramp rates ensures the successful completion of long-duration tests where even minute variations in crosshead movement would compromise the integrity of the time-dependent mechanical data being collected.
System Modularity and Long-Term Application Versatility Modularity
Is a central design principle, facilitated by a vast interface compatible with a wide array of grips, fixtures, extensometers, and environmental chambers. This design choice ensures that the system can be quickly reconfigured to meet evolving research needs or new industry standards without requiring capital investment in an entirely new testing frame, safeguarding the long-term utility and versatility of the laboratory equipment.
Seamless Software Integration and Data Integrity
The system integrates seamlessly with powerful, intuitive test software that provides real-time data visualization, comprehensive data management, and automated reporting functionality. This cohesive software/hardware environment simplifies complex data processing tasks, ensuring that all test results are automatically organized, analyzed against defined acceptance criteria, and delivered in compliance-ready formats, thus reducing the opportunity for manual data handling errors.
Superior Axial Alignment and Bending Strain Mitigation
The use of high-resolution displacement encoders and precision alignment tools facilitates the establishment of superior Axial Alignment and minimizes bending strain induced on the specimen, a notorious source of variability in mechanical testing, particularly for brittle materials or small components. This attention to alignment ensures that the applied load is purely axial, preserving the fundamental assumption of uniaxial testing and yielding highly consistent material property data.
Click here to know more about Instron Universal Testing Systems


